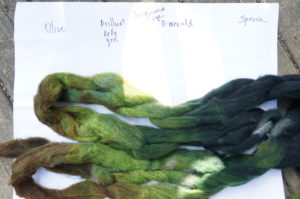
1. Start with washed, combed, wool and dye it every color possible!
2.Lay out three thin layers of wool, and on the top layer, make the base of the intended design.
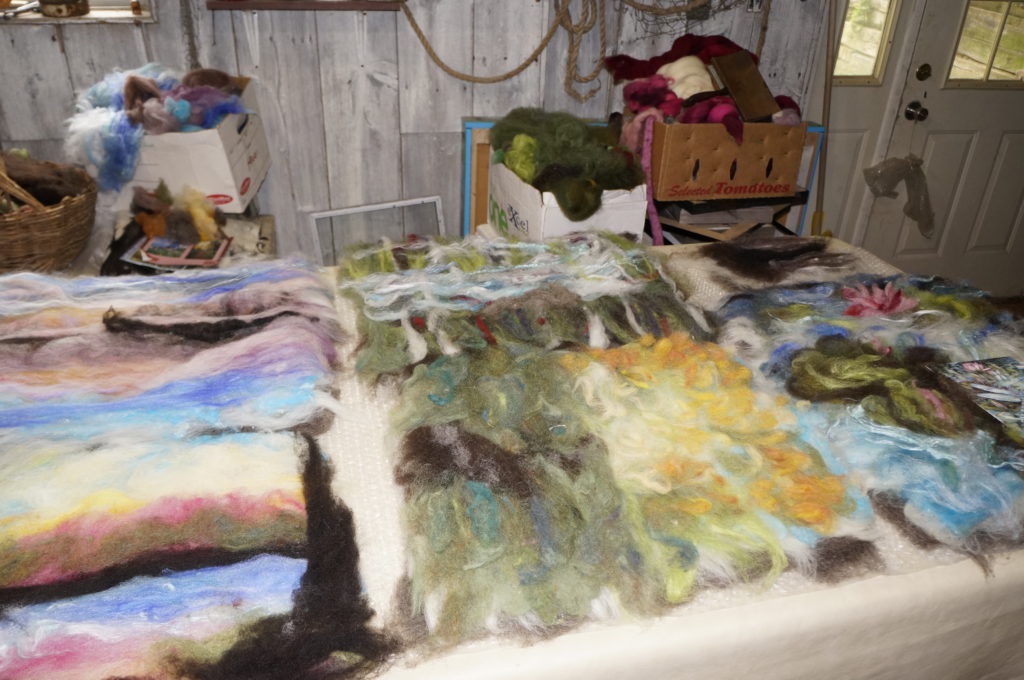
NOTE: There are 7 pictures laid out on the table at the same time. These are from the “Take Me North” series. The far right one is, “Lake Visitor”. You can see the pink lilly, pad and water.
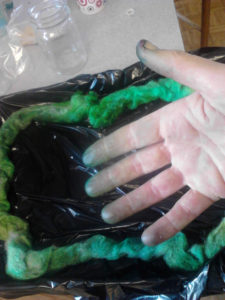
3. Lay mesh over the top, then sprinkle warm soapy water on top to saturate it.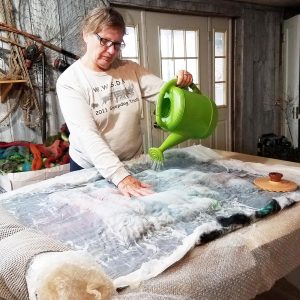
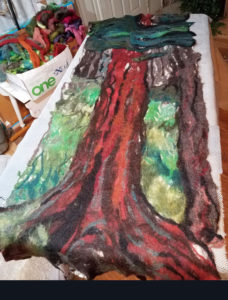
NOTE: This is a different picture than from the first layout you saw. I am “Watering”
“Dana The Great”.
4. Rub, gently rub, rub, rub, rub some more…. and some more…and…
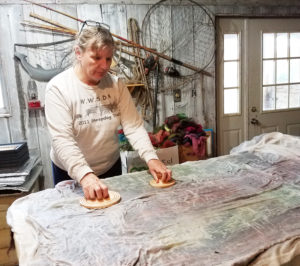
The warm, wet, soapy affect, makes the wool fibers open up like pine cones. The rubbing action makes the fibers attach to one another like velcro, and binds them together into a tight felt.
5. AND then we roll, and roll, and roll some more. This way, then that way, then the other way.
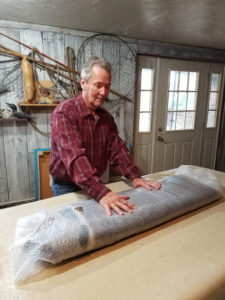
This is where lots of muscle and stamina come in handy!! This baby is HEAVY!
6. The felted piece(s) are ready to be massaged some more and then rinsed.
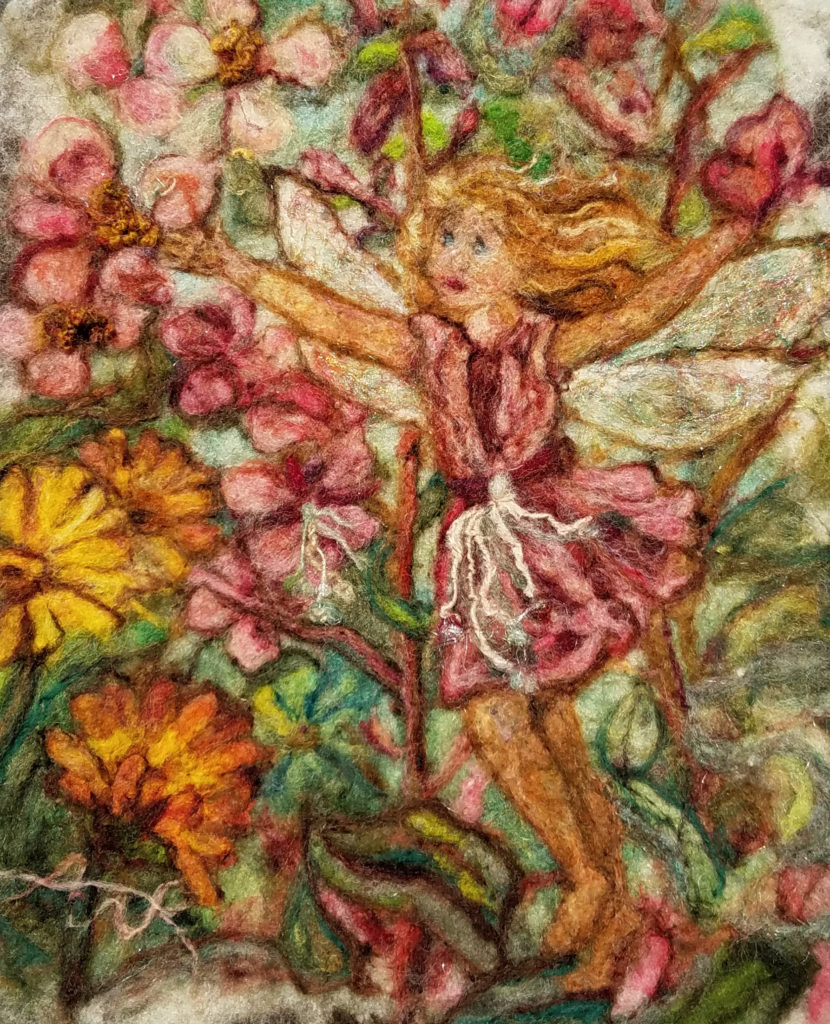
“Dana The Great”, a long tapestry piece that hangs from a rod. (Before it got the details needle felted in)
7. Hang her out to dry. Then the detailed needle process begins.

TO BE CONTINUED!
I POKE, instead of PAINT. All these details are made by poking the tiny wool fibers into the base wet felted piece with a special barbed needle.